How your photo book is made
From creating a book on your phone or computer to the printed book.
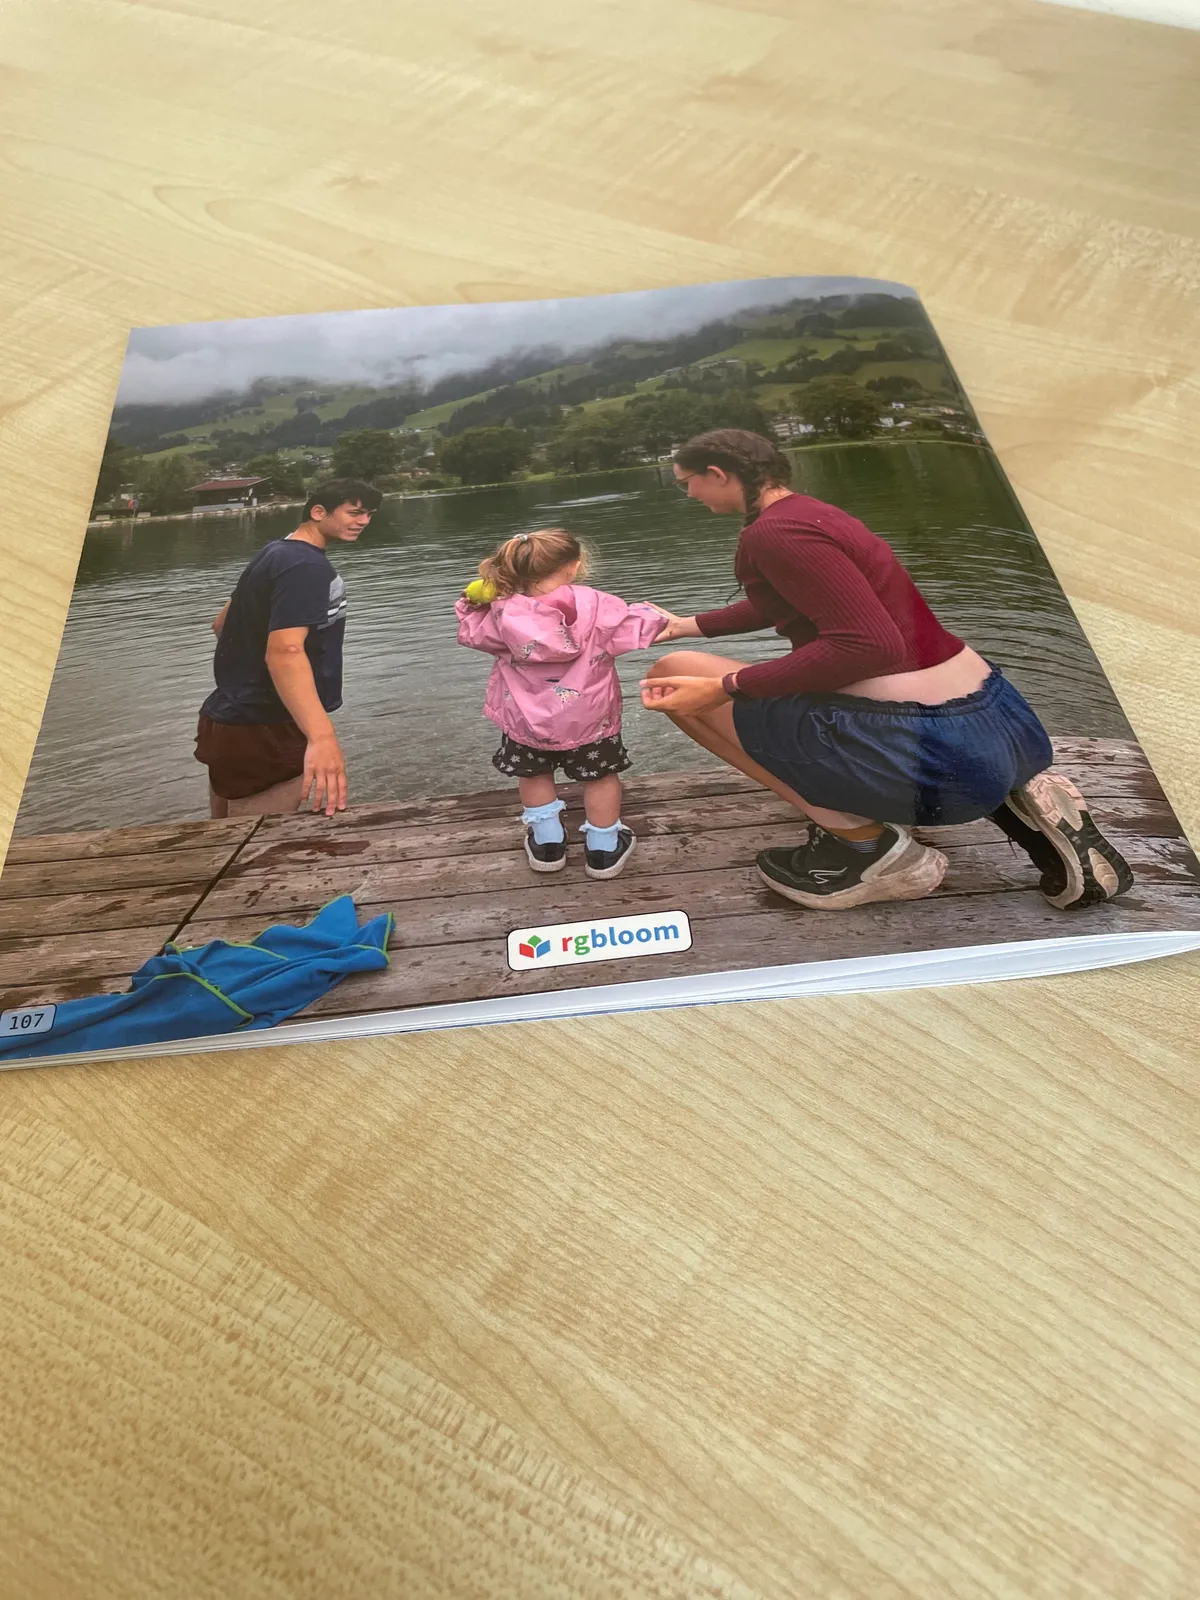
21×21cm stapled softback · 28 pages on 150gsm silk paper · gloss-laminated cover on 300gsm silk card
The book in these photos is one our founder made of his own family. We never use a customer's book or photos without their permission.
Step 1
You design it
On your computer or your phone. Add your photos and the editor lays them out across 28 pages and a cover. Then change anything you like: swap a photo, switch a layout, give it a title.
While you make your book, your photos stay on your own device.


Step 2
You order and pay
Add the address it's going to, or several if you're sending copies to family. It's £10 a copy, including UK delivery, and you pay by card on the next screen.
When you start your order, your book and its photos are uploaded to us, so we can print it.
We delete your photos, name, address and email 30 days after your order.

Step 3
Your book becomes print files
We turn your book into two print files at 300 dots per inch: one for the cover and one for the 28 inside pages.
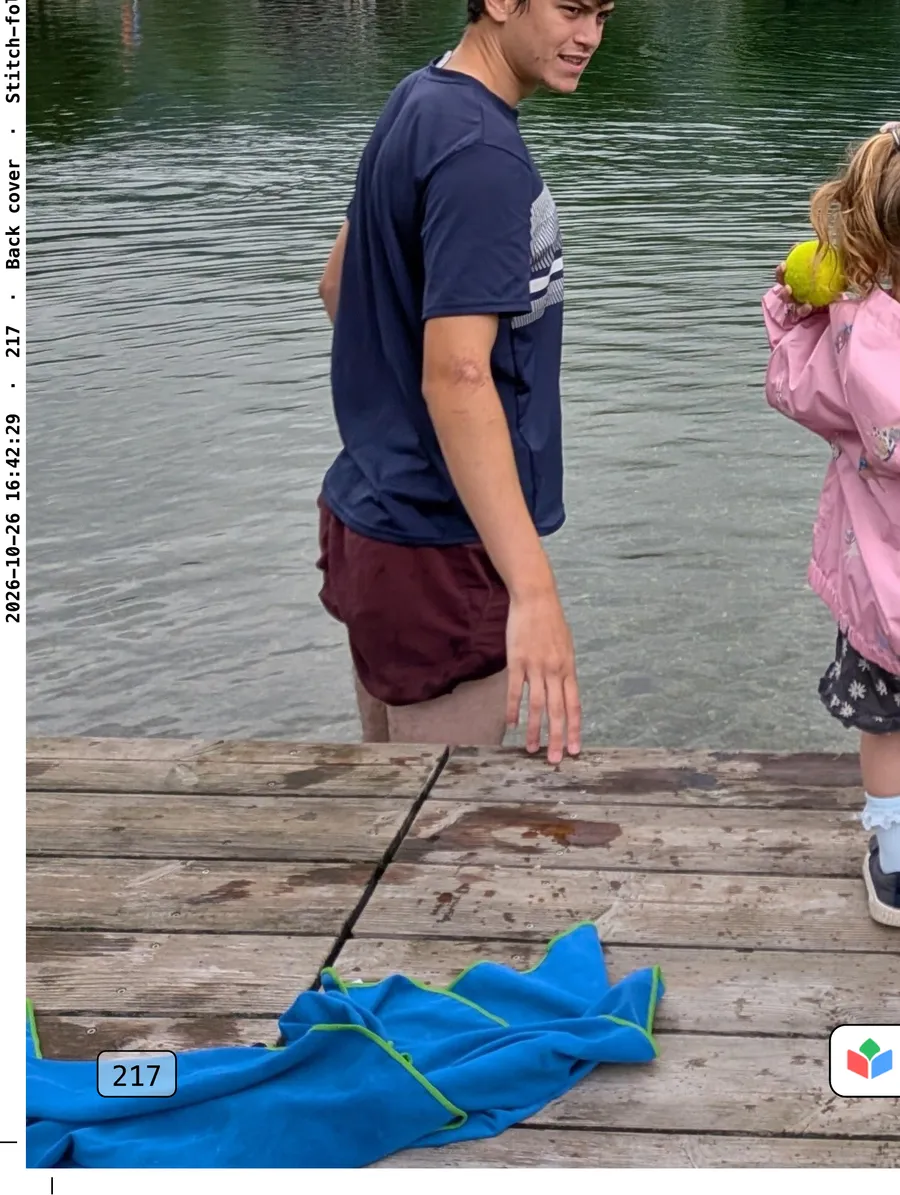
The marks in each corner show where to cut, and the line of text down each edge names the book and the page, so your pages and your cover stay together. Both are cut off.
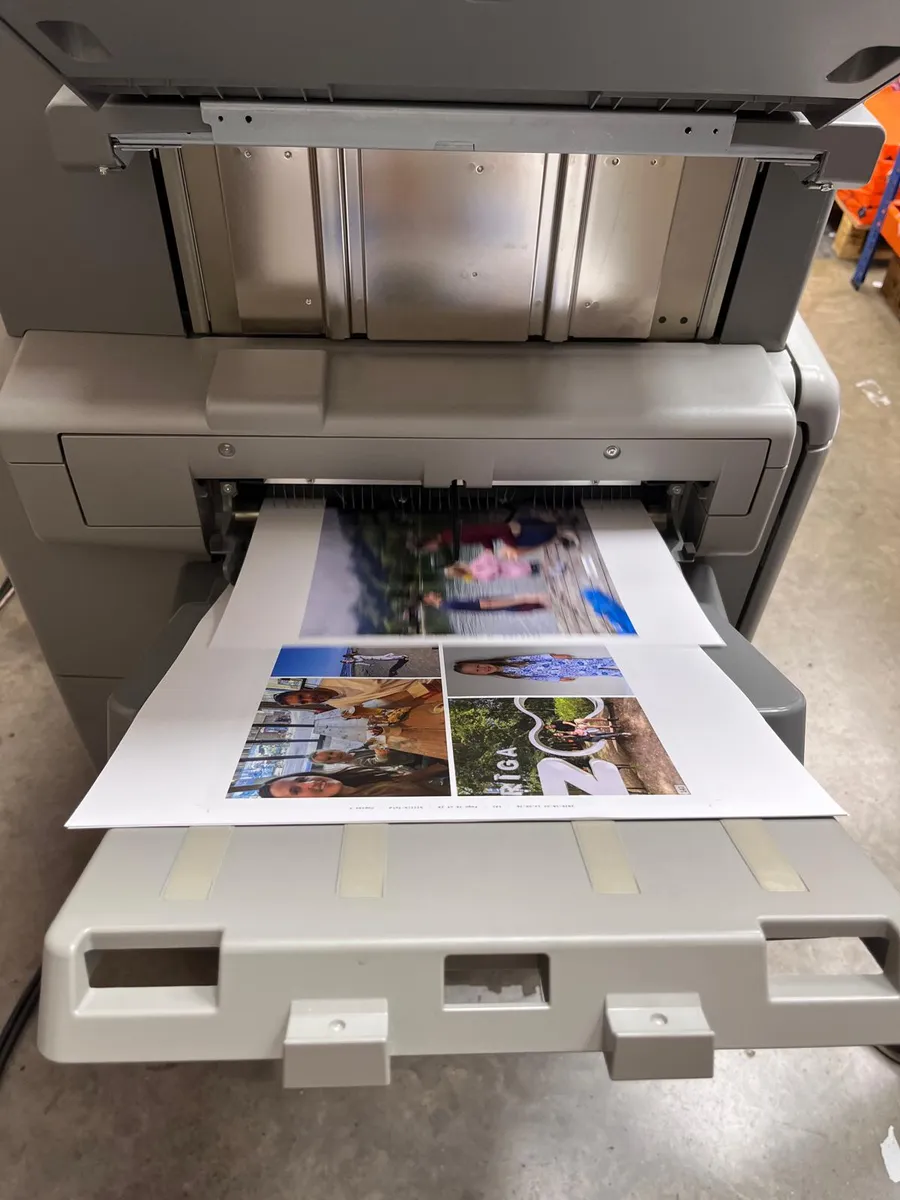
The inside pages are laid out in pairs, in the order the printer needs. Page 7 sits beside page 22, so that once the sheets are folded and stapled, every page lands in the right place.

Step 4
The cover and inside pages are printed
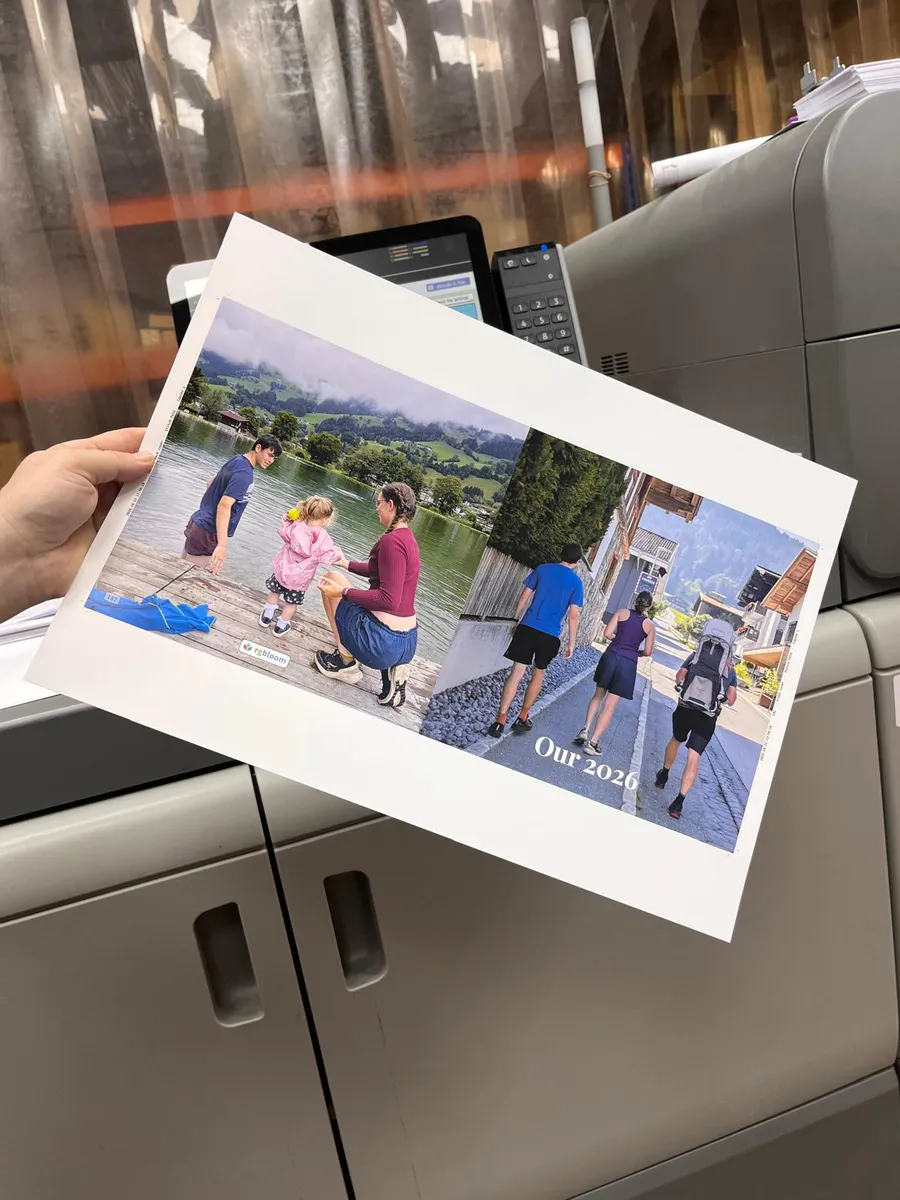
The inside pages are printed on 150gsm silk paper. The cover goes on thicker 300gsm silk card, with the back and front side by side. The spine is a fold, so a photo can run right round from the back to the front.
Step 5
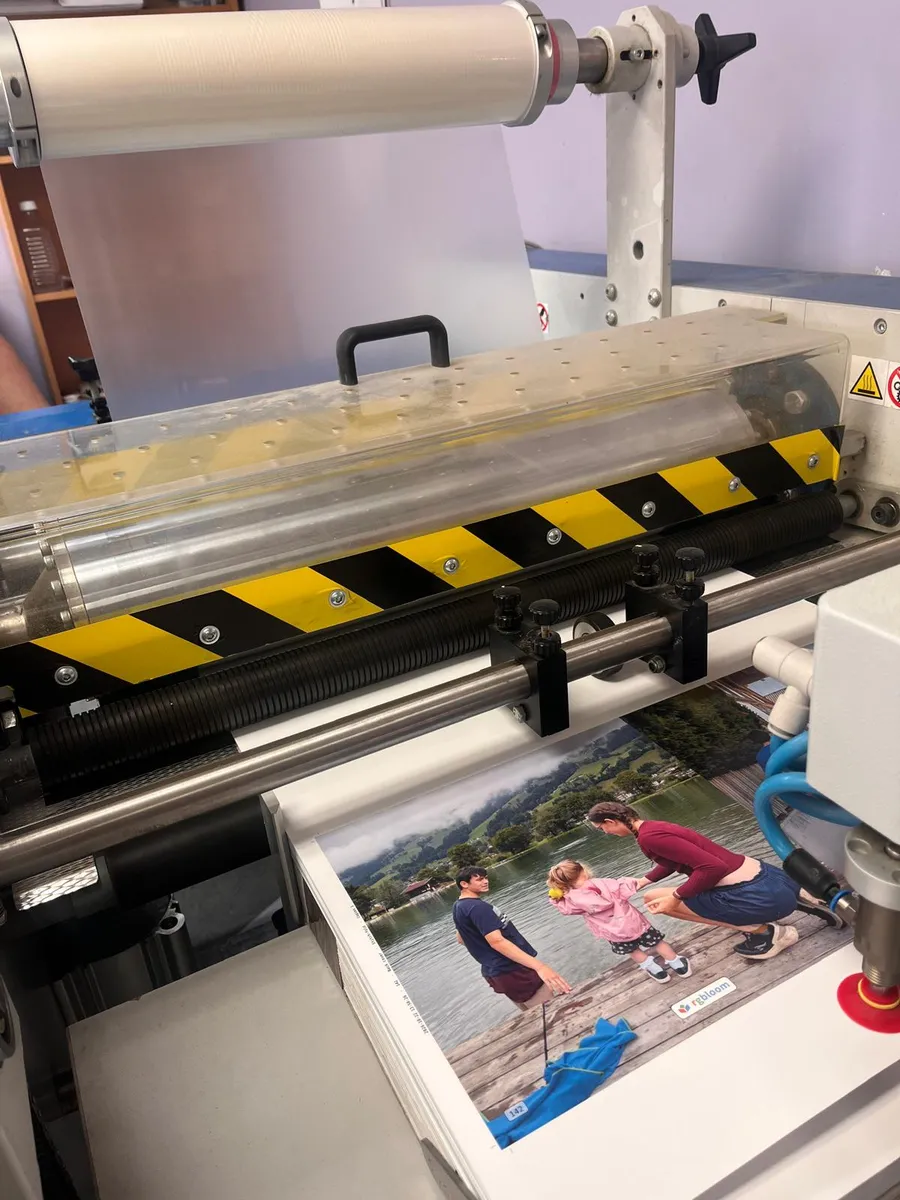
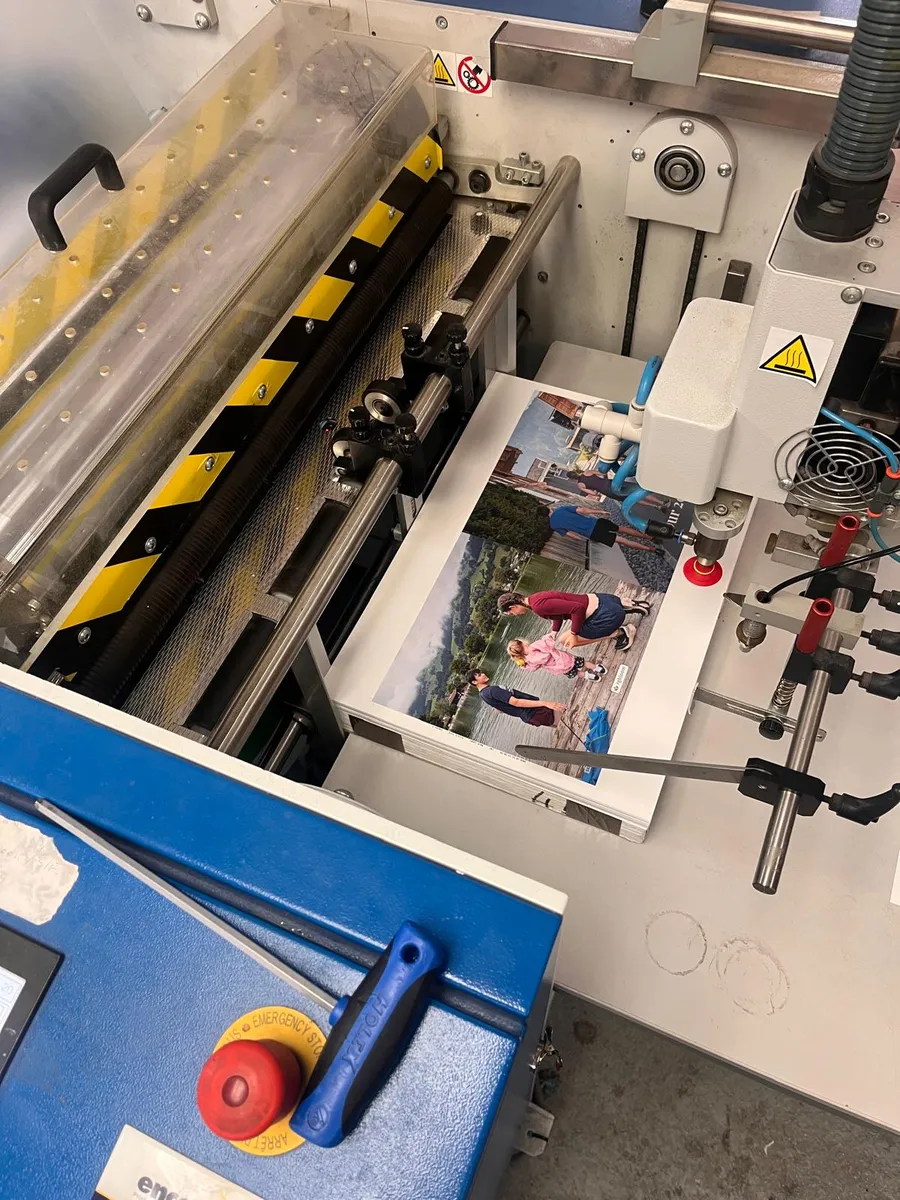
The cover is gloss-laminated
A thin gloss film is pressed onto the outside of the cover. It gives the photos a slight shine and helps the cover stand up to being handled.
Step 6
Trimmed to size
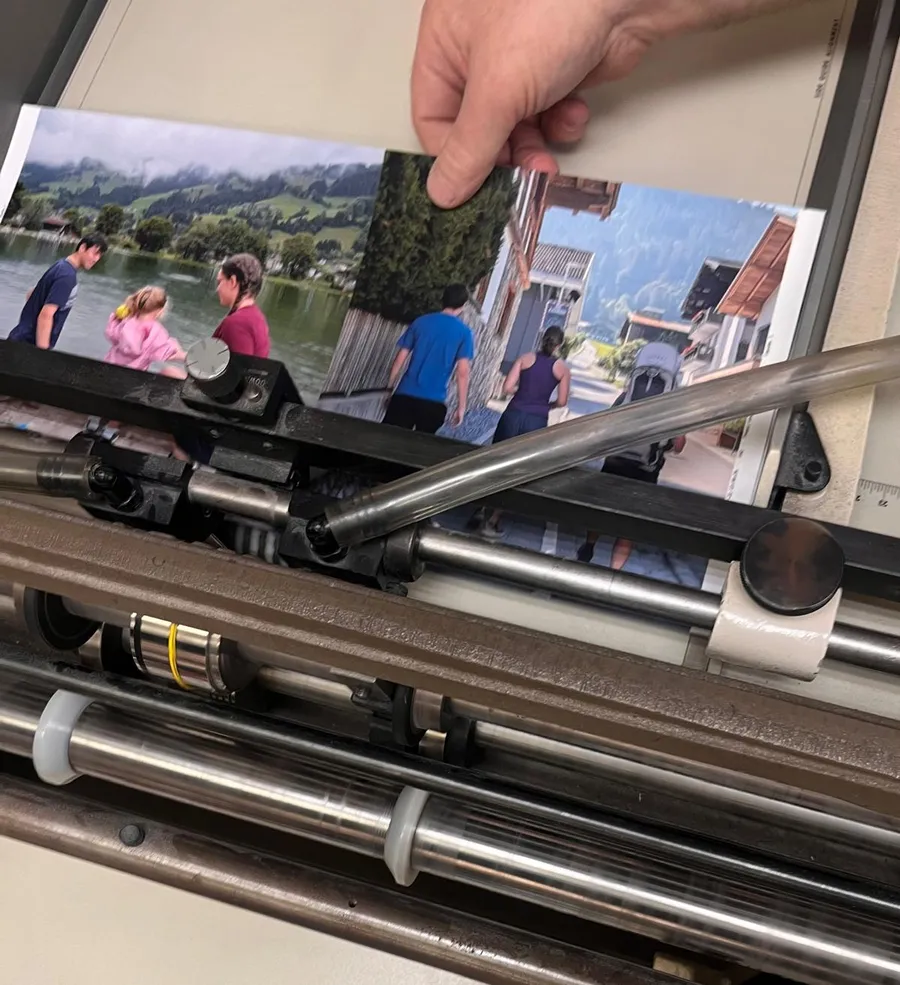
The gloss-laminated cover and the inside pages are cut down to their finished size.
Any photo that reaches the edge of a page is printed 3mm past it, into what printers call the bleed. The cut is then made 3mm in, through the bleed, so the photo runs right to the edge with no thin white line, even if the cut lands a fraction out.
Step 7
Stapled and folded
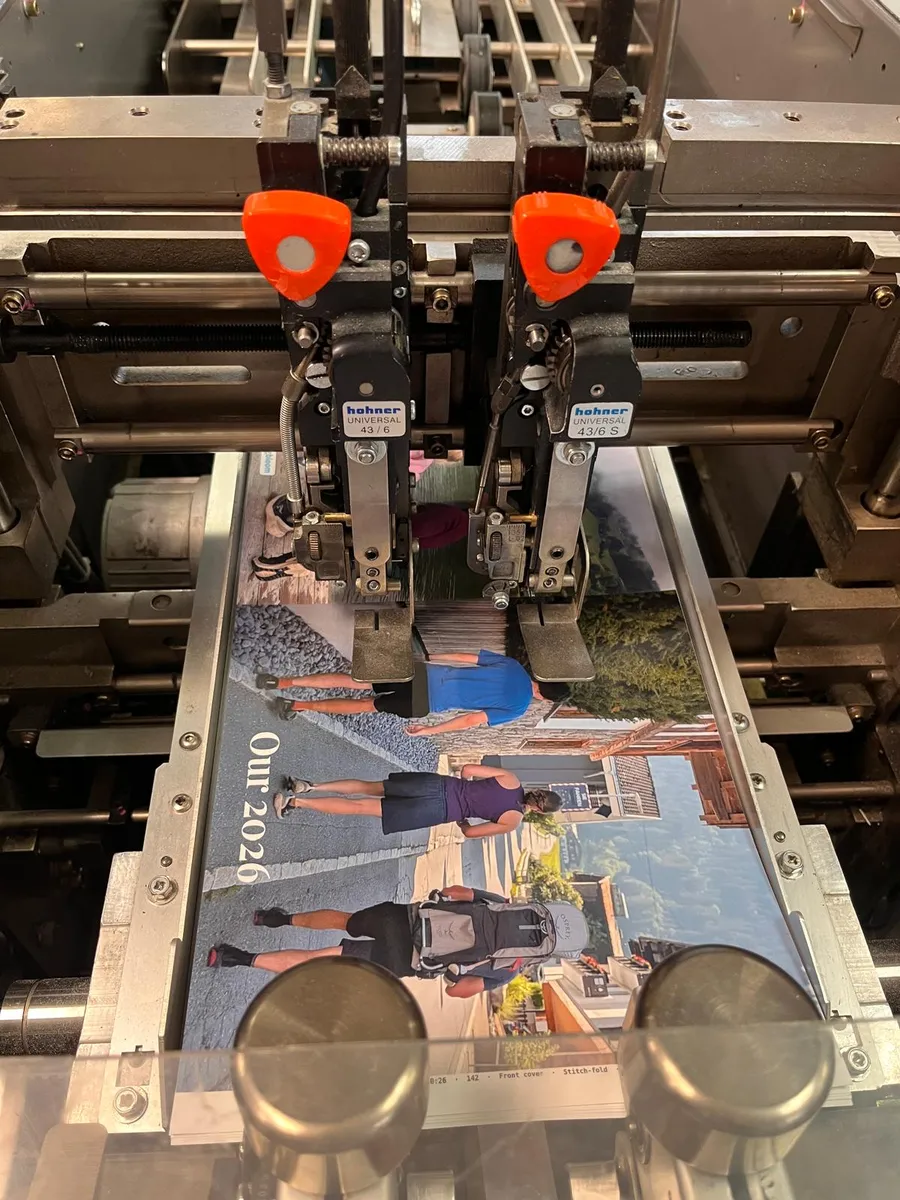
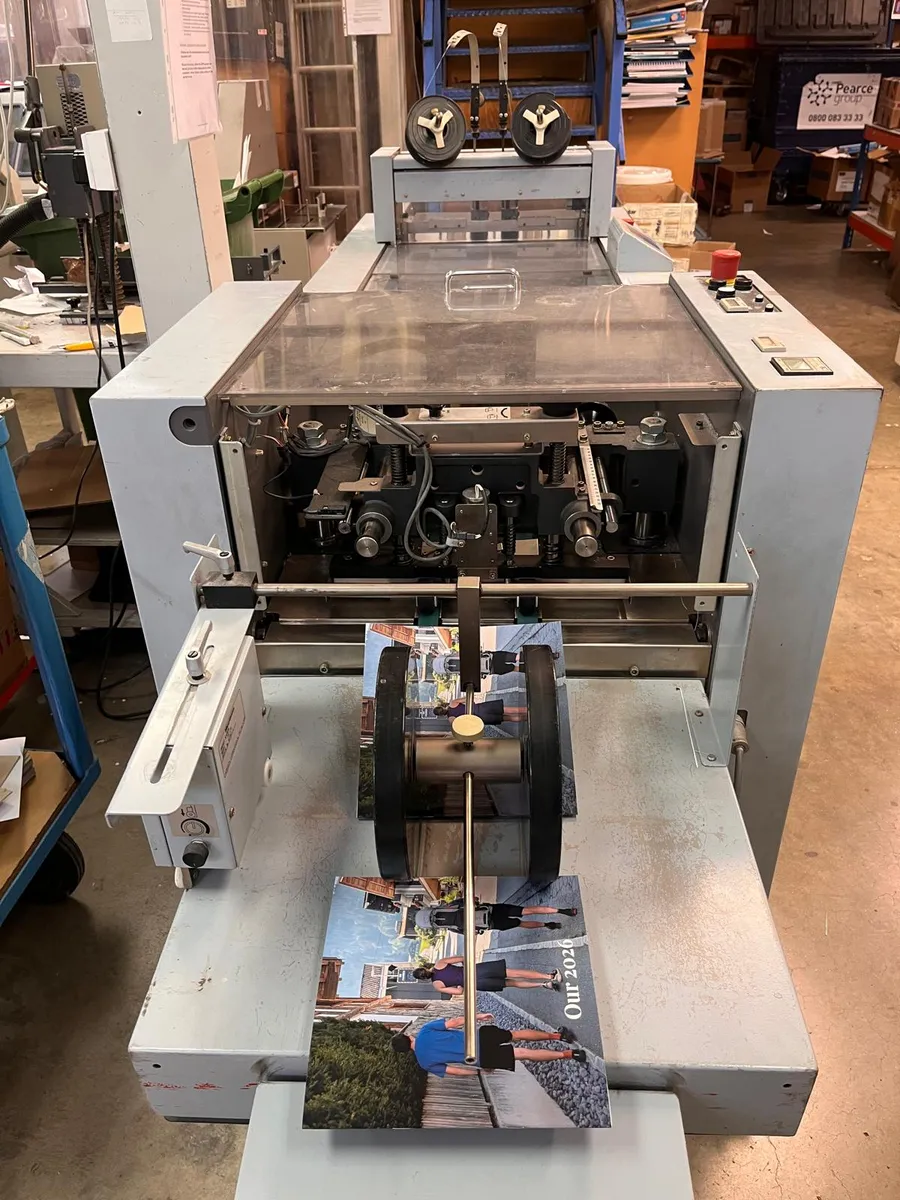
Cover and pages go into one machine together. Two stitching heads make staples from reels of wire and push them through the middle of the book, then the machine folds it in half.
A flat stack of paper goes in one end, and a book comes out of the other.
Because the staples go through the fold, the book opens flat, so a photo across both pages isn't lost in the middle. It lies far flatter than a perfect-bound book, whose pages are glued into a square spine.
Step 8
Packed and delivered
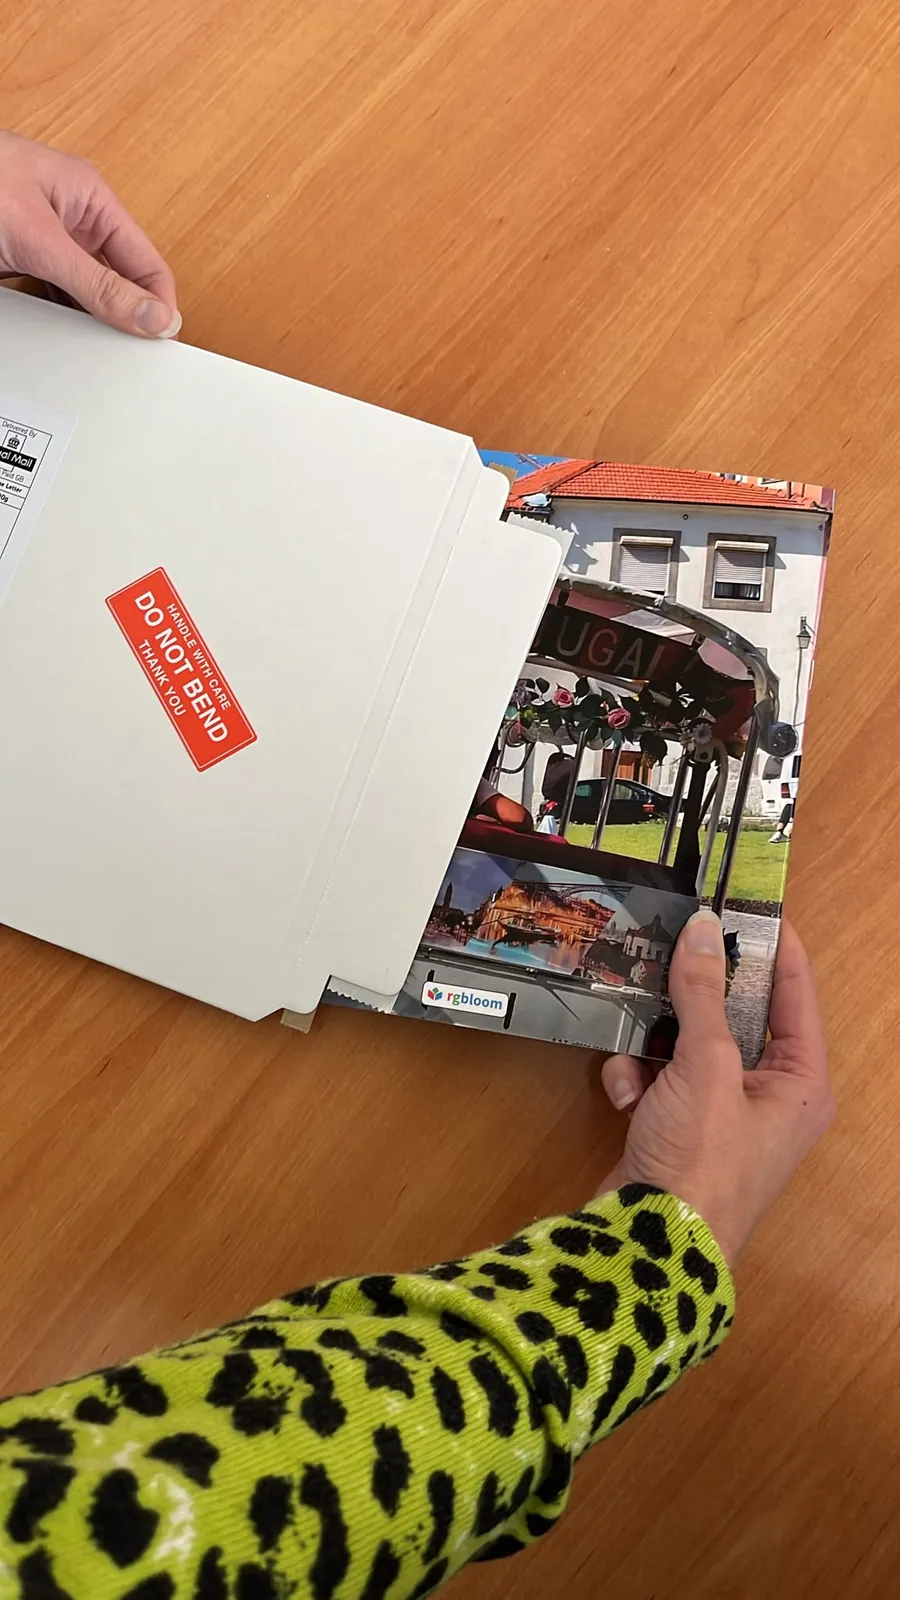
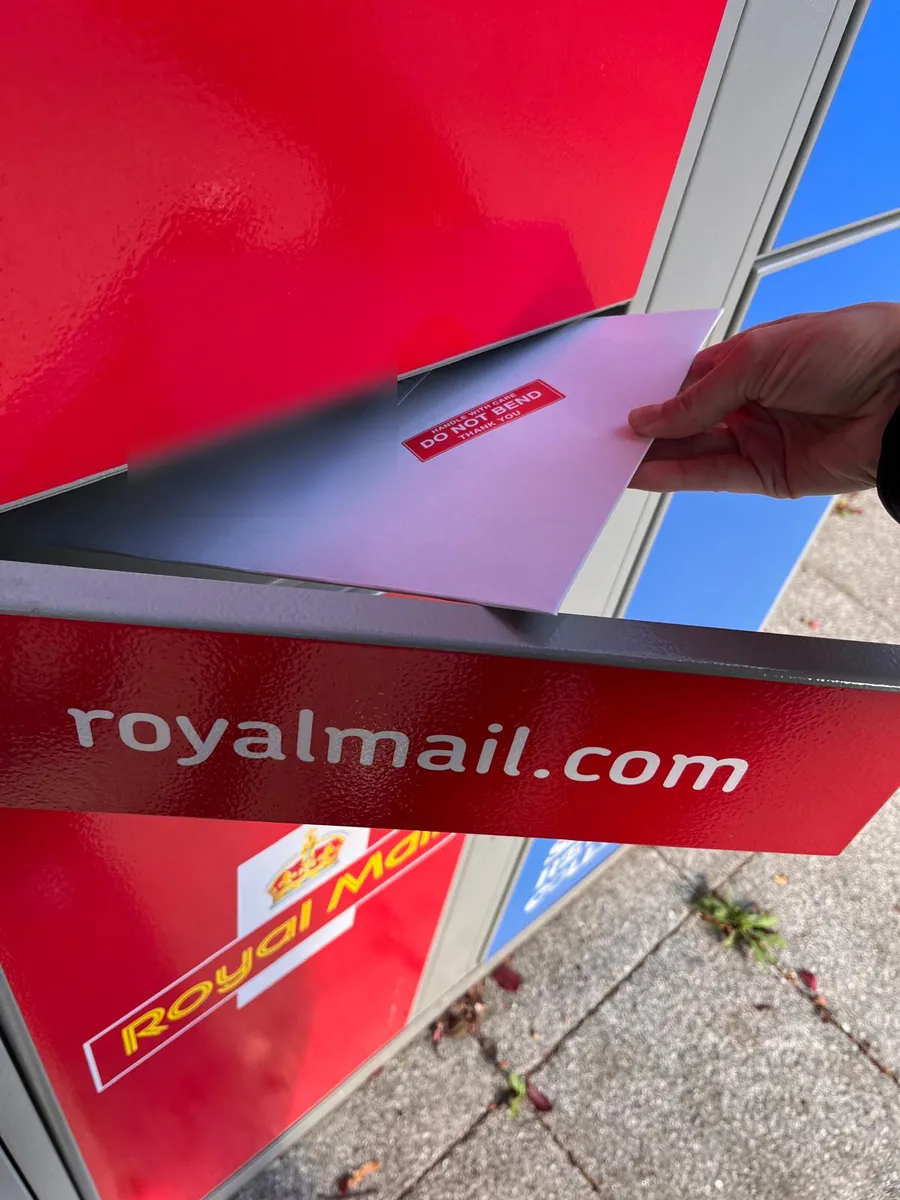
Each book goes into a stiff board envelope marked "Do not bend", then into the post with Royal Mail.
When it's on its way, we email you its tracking number. Most books arrive within a week.
Because your email address is optional, we can only send you a tracking number if you provide one.
Step 9
Yours to treasure
We love flicking through our book, and we're sure you'll enjoy yours too.